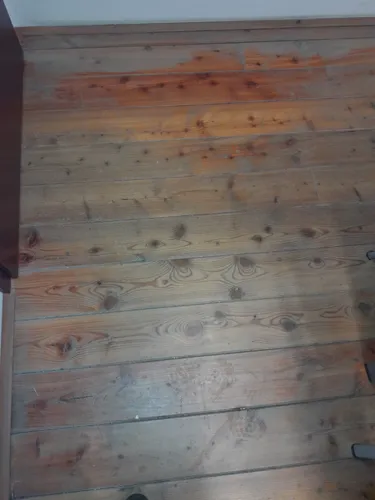
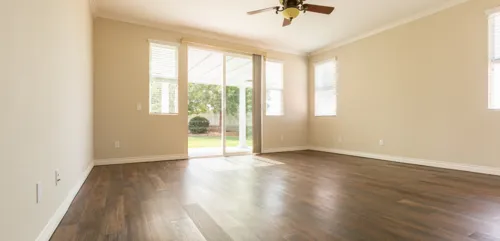
Hardwood floor repair can become a priority overnight – one moment you’re admiring your beautiful parquet, and the next, you notice deep scrapes or floor discolouration. If your once pristine wooden surfaces have turned into an eyesore, keep reading. Here, you’ll learn exactly what’s causing the problem and discover practical solutions to restore your beloved wood flooring.
")
Common causes of hardwood floor damage
Several factors can contribute to floor damage, from everyday wear and tear to larger structural issues. Understanding these causes is key to deciding whether a quick fix will do, or if you need professional floor restoration:
- Excessive moisture: Spills, leaks, or damp conditions can warp and buckle your hardwood boards. In hallways prone to wet footwear, moisture can gradually seep in and lead to permanent wood floor wear signs.
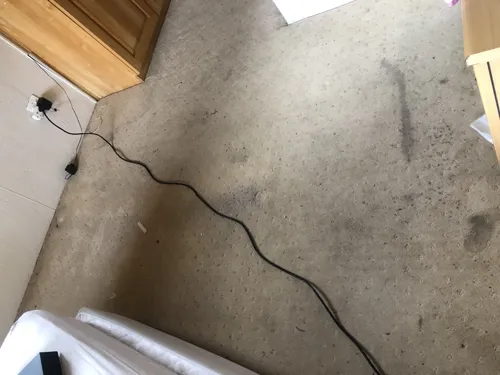
- Physical impact: Heavy furniture, dropped items, and high foot traffic can create dents, scratches, or gouges that worsen over time.
- Inadequate maintenance: Skipping regular cleaning and polishing leaves the floor’s protective layer vulnerable to damage. Over time, dust and debris can grind into the surface, causing it to become dull or discoloured.
- Sun and UV exposure: Intense sunlight through windows can fade certain spots on your timber flooring, leading to an uneven, patchy look.
- Improper installation: If the boards were installed with subpar materials or without proper acclimation, the floor can expand or contract unpredictably, creating gaps, crowning, or buckling.
Ignoring these signs of a worn wooden floor can make your home look neglected, while the underlying damage grows more difficult to fix.
Consequences of delaying hardwood floor repair
Not addressing floor repair needs promptly can worsen the problem in ways that affect your wallet, safety, and comfort. Here are some possible outcomes:
- Trip hazards: Worn edges or bent boards can create raised bumps – a dangerous scenario, especially in high-traffic hallways.
- Higher repair costs: Minor damage left to fester often spirals into major issues, requiring extensive replacements or refinishing.
- Decreased property value: Prospective buyers can be deterred by noticeably damaged laminate boards or discoloured floors.
- Prolonged discomfort: An uneven or unstable surface can become an eyesore and an ongoing frustration.
Addressing these problems early saves you money and helps maintain the overall aesthetic and structural integrity of your home.
")
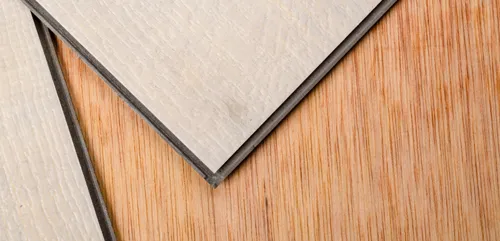
Effective solutions for hardwood floor repair and restoration
To manage your floor repair issue effectively, try these tips. Whether you’re dealing with slight scuffs or more serious structural damage, it’s possible to restore your flooring to a nearly stain-free, polished finish.
1. Quick DIY fixes for minor floor damage
- Remove surface dirt: Sweep or vacuum thoroughly to ensure loose debris won’t cause further scratches.
- Use a touch up filler pen: For shallow scratches, a wood marker or wax filler stick in a matching shade can camouflage imperfections. Apply the filler, let it dry, and gently buff the area.
- Polish the surface: Use an appropriate hardwood floor polish to revive the protective layer. Apply evenly, and let it dry according to the product instructions to avoid streaks.
Tackle any loose tiles or mismatch in laminate boards quickly before the issue spreads. Also, never drag furniture over freshly polished floors. Instead, lift or use felt pads to avoid new scratches.
2. Intermediate fixes for moderate wear
If you see larger scuffs or slight warping, but the damage doesn’t warrant a full refinish, try these steps:
- Spot sanding: Sand the damaged area gently and wipe away dust.
- Wood filler application: Use a putty knife to fill deeper gouges with a wood filler that matches your floor’s shade, smoothing and removing excess.
- Re-seal: Once dry, re-seal or apply a fresh coat of finish to blend the repaired area with the rest of the floor.
Be prepared to spend a bit more time on these repairs. Ensure proper ventilation and adhere to drying times detailed by the product manufacturer.
3. Professional floor sanding and refinishing
When the damage extends across a large area, or you notice lumps, cracks, or severe discolouration, floor restoration usually works best with the help of a pro. Here’s the basic process:
- Inspection and preparation: A contractor will identify trouble spots, remove nails or staples, and check the subfloor’s condition.
- Sanding: Using professional-grade equipment, the top layer of damaged wood is sanded away. This step smooths out gouges and removes surface stains.
- Filling gaps and imperfections: The contractor fills any larger holes or cracks before a final round of sanding.
- Staining and sealing: Depending on your preference, the floor might be stained for a different tone, then sealed with a protective topcoat to extend its lifespan.
The equipment used professionally ensures a smoother, even finish, with less dust. Plus, a reputable specialist typically offers a work guarantee, so you have peace of mind if issues arise later.
")
When to call a professional
- Large-scale floor discolouration or water damage
- Extensive cracks or buckling that hint at subfloor issues
- Multiple deep gouges, making a DIY repair too time-consuming
- Desire for a brand-new finish or colour change
In these cases, expert knowledge can save you stress, time, and unnecessary repeat work.